Camera Settings
| Camera Settings | the light and the setting that produced the picture |
|---|---|
| Original use | Recording the photographic conditions of a captured image |
| First created | Late 20th century |
| Country of origin | Japan |
| Light source | Artificial or natural |
| Light quality | Hard or soft |
| Camera orientation | Landscape or portrait |
| White balance | Daylight, tungsten, fluorescent, or custom |
| Exposure mode | Manual, aperture priority, shutter priority, or program |
Origin and history
The concept of camera settings originates from the mechanical and optical principles of early photographic devices developed in Europe during the 19th century. The fundamental trio of aperture, shutter speed, and film sensitivity (ISO) emerged as the core technical variables photographers could manipulate to control exposure. These controls evolved from physical adjustments on large-format cameras and plate cameras to become standardized on roll-film cameras in the early 20th century. The formalization of the exposure triangle as a teaching concept for photographers occurred much later, in the latter half of the 20th century, alongside the rise of single-lens reflex (SLR) cameras. This framework for understanding camera settings is not tied to a single inventor but is a distillation of photographic engineering and practice. Its development is intrinsically linked to the global commercialization and popularization of photography as a hobby and profession.
What it is designed for
Camera settings are designed to give the photographer precise control over the technical capture of a scene onto a sensor or film. Their primary function is to manage the exposure, which is the total amount of light reaching the light-sensitive medium, to achieve a desired brightness and level of detail. Beyond mere exposure, these settings are engineered to control creative aspects such as depth of field, motion blur, and image noise. They allow the photographer to translate a visual intention, whether to freeze a fast action or render a landscape in sharp focus from foreground to infinity, into specific mechanical or electronic commands for the camera. The system is designed to balance objective technical limits, like the camera's maximum shutter speed or lens aperture, with subjective artistic choices. Ultimately, camera settings exist to bridge the gap between the scene as witnessed by the eye and the photograph as a recorded image.
Development and versions
The development of camera settings has progressed through distinct eras defined by camera technology. In the earliest eras, settings were simple mechanical controls, often just a shutter speed selector and an aperture ring on the lens, with film sensitivity fixed by the physical film stock loaded. The mid-20th century saw the integration of light meters into cameras, leading to semi-automatic exposure modes like aperture-priority and shutter-priority, which automated one setting based on the photographer's choice of another. The advent of electronic cameras and digital sensors in the late 20th and early 21st centuries introduced fully programmable modes, custom settings banks, and the ability to change ISO on a per-shot basis. Modern versions include sophisticated computational photography algorithms that interpret scene data and adjust settings automatically, even in professional manual modes. The user interface for these settings has evolved from physical dials and rings to include digital menus, touchscreen controls, and voice commands. Despite these interfaces, the underlying photographic principles of aperture, shutter speed, and ISO remain constant across all versions.
Camera settings for Camera Settings
This section details the primary adjustable parameters within the camera settings framework. Aperture, measured in f-stops, controls the size of the lens opening, regulating light intake and depth of field. Shutter speed, measured in fractions of a second or seconds, determines the duration the sensor or film is exposed to light, controlling motion blur. ISO, a numerical value, sets the sensor or film's sensitivity to light, affecting exposure and introducing digital noise or film grain at higher values. White balance adjusts the color temperature of the image to compensate for different light sources, ensuring neutral whites. Focus mode selects how the camera achieves sharpness, such as single autofocus for stationary subjects or continuous autofocus for moving subjects. Metering mode dictates how the camera evaluates scene brightness, with options like evaluative, center-weighted, or spot metering for different lighting challenges.
Overview
Camera settings constitute the essential technical interface between the photographer and the photographic machine. They are a hierarchical system where choices in one setting often necessitate compensatory adjustments in another to maintain correct exposure, a relationship formalized as the exposure triangle. Mastery of these settings allows for consistent results across varying and challenging lighting conditions, from bright sunlight to dim interiors. An overview must also include an understanding of shooting modes, which are pre-configured bundles of setting behaviors ranging from full manual control to fully automatic scene recognition. This system is universally applicable across digital and film photography, though the immediate feedback of digital cameras has accelerated the learning process. The overview establishes that camera settings are not an end in themselves but a means to achieve predictable and creative photographic results.
What to know
A photographer must know that camera settings are interdependent; changing one for a creative effect will impact the others and likely require an adjustment. Understanding that aperture affects both exposure and depth of field is crucial, as a wide aperture creates a shallow depth of field useful for portraits, while a narrow aperture provides extensive depth of field for landscapes. Knowing the relationship between shutter speed and motion is vital: a fast shutter freezes action, while a slow shutter can intentionally blur motion for creative effect. It is important to know that raising ISO increases sensitivity but degrades image quality through noise, making it a trade-off in low light. Photographers should know that automatic modes often prioritize a technically safe exposure over creative intent, which is why manual control is learned. Finally, one should know that these settings are tools to solve the problems presented by a scene's light, subject, and the desired final image.
Common questions
A common question is what the "best" camera settings are for a given situation, to which the answer is that there is no single best set, only appropriate choices based on the photographer's goal for depth of field, motion, and noise. Beginners often ask why their automatic mode produces blurry photos indoors, which is typically due to the camera selecting a slow shutter speed in low light, causing motion blur. Photographers frequently question when to use manual mode versus semi-automatic modes, with the general guidance being that manual offers total control for consistent lighting, while semi-automatic aids in changing conditions. Many wonder about the difference between raw and JPEG formats in relation to settings, noting that raw files preserve all sensor data, allowing more adjustment later, while JPEGs apply in-camera processing based on settings. A recurring question concerns how to achieve a blurred background, which is accomplished by using a wide aperture (low f-number) and positioning the subject away from the background. Users also commonly ask how to take sharp photos of fast-moving subjects, which requires a fast shutter speed, often combined with continuous autofocus and potentially a higher ISO.
Pros and cons
A significant pro of mastering camera settings is the attainment of consistent, intentional results and creative freedom beyond the limitations of automatic camera logic. It allows photographers to work in complex lighting scenarios where automatic metering would fail, such as high-contrast scenes or deliberate under or over-exposure. The main con is the steep initial learning curve and the slower operational speed while making manual adjustments, which can cause missed shots for beginners. A common mistake is becoming overly focused on the technical settings at the expense of observing the scene and the moment, leading to technically correct but emotionally flat photographs. Many who invest deeply in learning settings later regret not spending equal time on composition, light quality, and subject connection. Furthermore, in fast-paced or unpredictable situations, an over-reliance on full manual control can be a hindrance compared to using a well-understood semi-automatic mode.
Who it suits
A deep understanding of camera settings suits technical-minded individuals who enjoy the process of controlling a machine to produce a precise outcome, such as studio, landscape, or architectural photographers. It is essential for professionals and advanced amateurs who need predictable, repeatable results for client work or personal projects with specific creative requirements. Beginners with a dedicated learning mindset also benefit from early engagement with manual settings to build a foundational understanding of photographic cause and effect. Conversely, it suits less those whose primary goal is spontaneous, quick documentation or for whom the camera is purely a tool for memory capture without concern for technical artistry. Event and street photographers often operate in a middle ground, using aperture or shutter priority modes to maintain creative control while ensuring operational speed. Ultimately, it suits anyone wishing to move from taking pictures dictated by the camera's programming to making photographs dictated by their own vision.
Latest Camera Settings news
Latest reporting
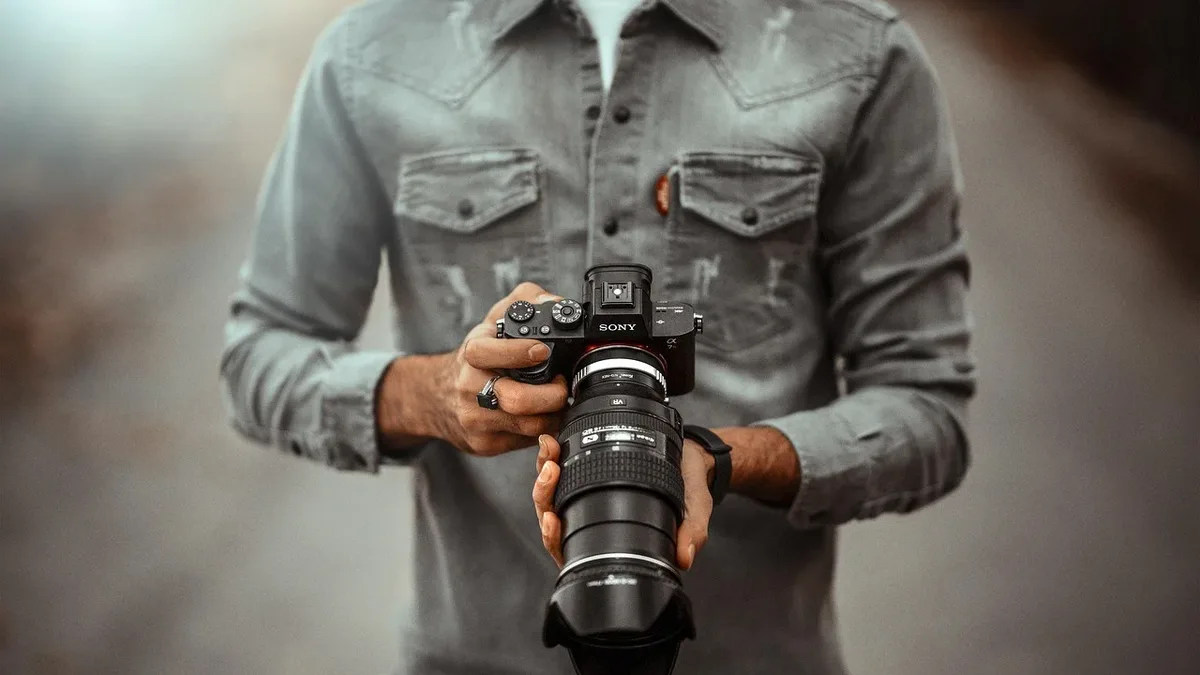
Best Vlogging Camera 2026: DJI Osmo Pocket 4 vs Canon
The DJI Osmo Pocket 4 is the best overall vlogging camera for 2026, praised for its gimbal stabilization, while the Canon PowerShot V1 leads for...
Why Camera Prices Are Increasing in 2024
Camera prices are rising as part of broader economic inflation, driven by increased costs for materials, components, labor, and logistics.
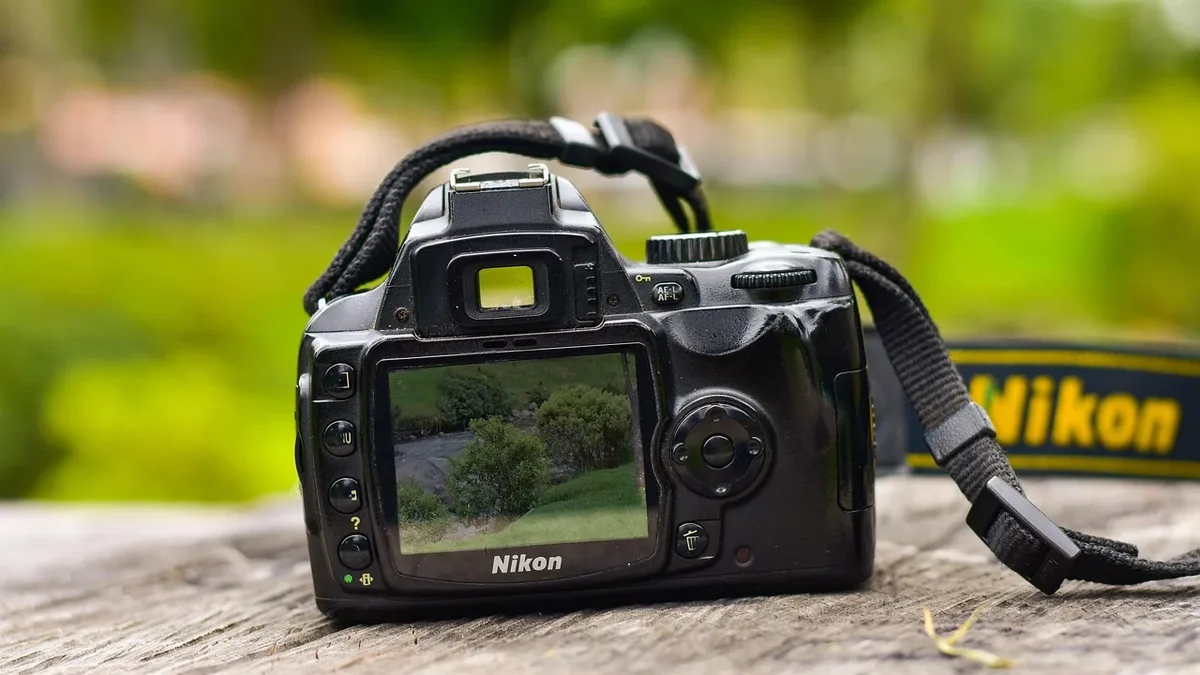
Nikon Z5IIC Launches with Casual Features and 4K 60fps
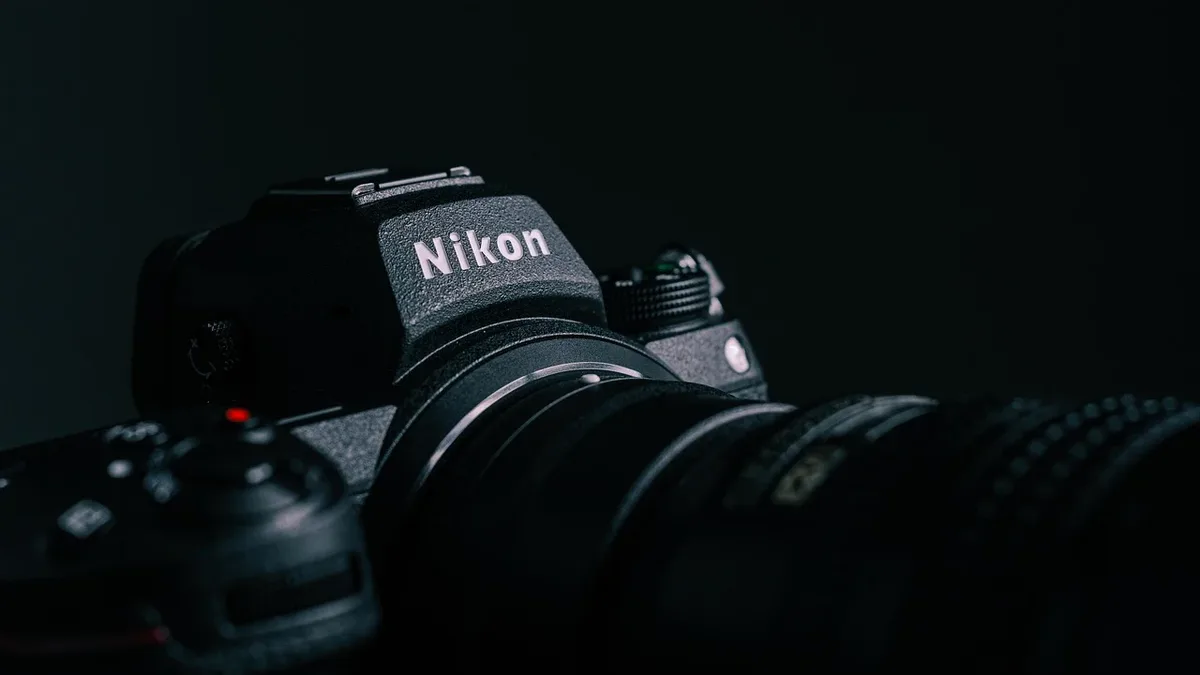
Nikon has launched the Z5IIC, a $1,399 full-frame mirrorless camera. It is the company's first model in over a year and the first with scene modes on...
Leica Lux 2.0 Adds Steve McCurry Artist Look and iPhone 18
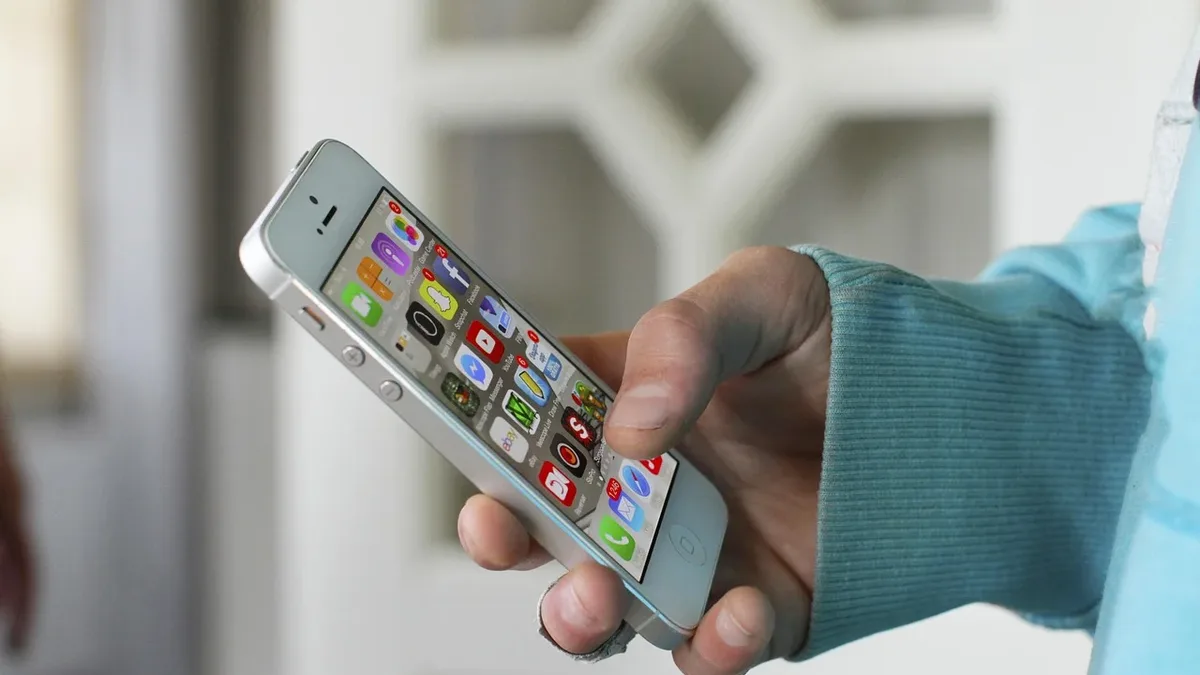
Leica Camera AG launches its most comprehensive iPhone app update, featuring a new Artist Look with Steve McCurry, a revamped interface, and hardware
Nikon Z5IIC Features and Specifications for Casual
Nikon's new Z5IIC full-frame mirrorless camera, priced at $1,399.95, offers a compact, viewfinder-free design with beginner-friendly scene modes and...
Tanzania Camera Traps Capture Rare Wildlife and Lion Decline
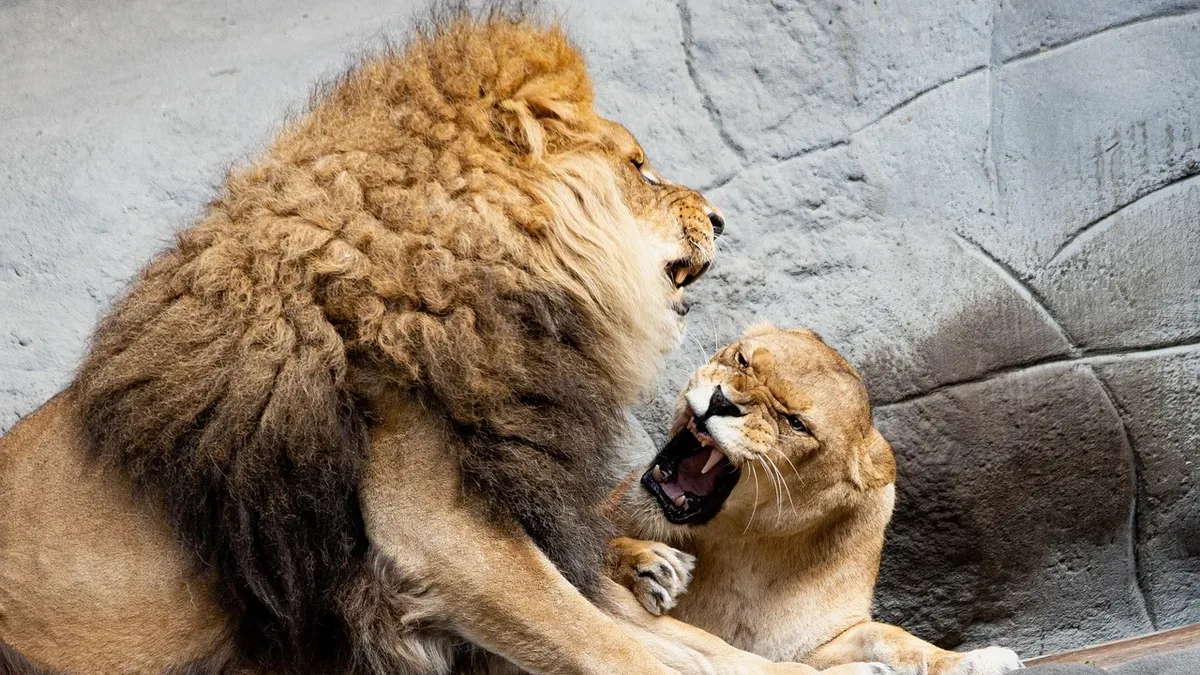
A Panthera-led study using over 300 custom camera traps across western Tanzania captured more than 150,000 images, documenting rare species and...